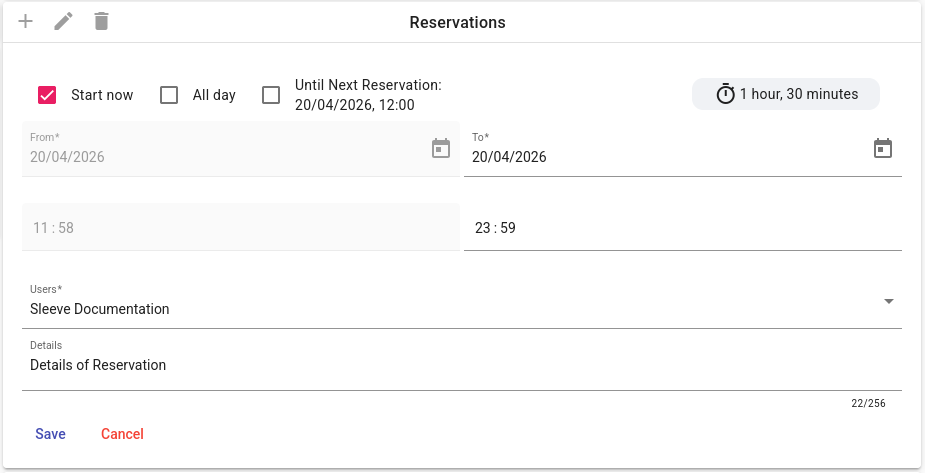
Reservations
Reservations are part of Sleeve’s User and access management system.
It is integral that your work is not interrupted by others — especially when working with advanced embedded hardware. Device Reservations provide a way for Users to ensure that they have full control over who gets to access a Sleeve Device at any point in time.
A Reservation restricts access to a Device and all its Workspaces and Actions to a list of Users for a given timeframe.
See How to create a Device Reservation for a step-by-step guide.
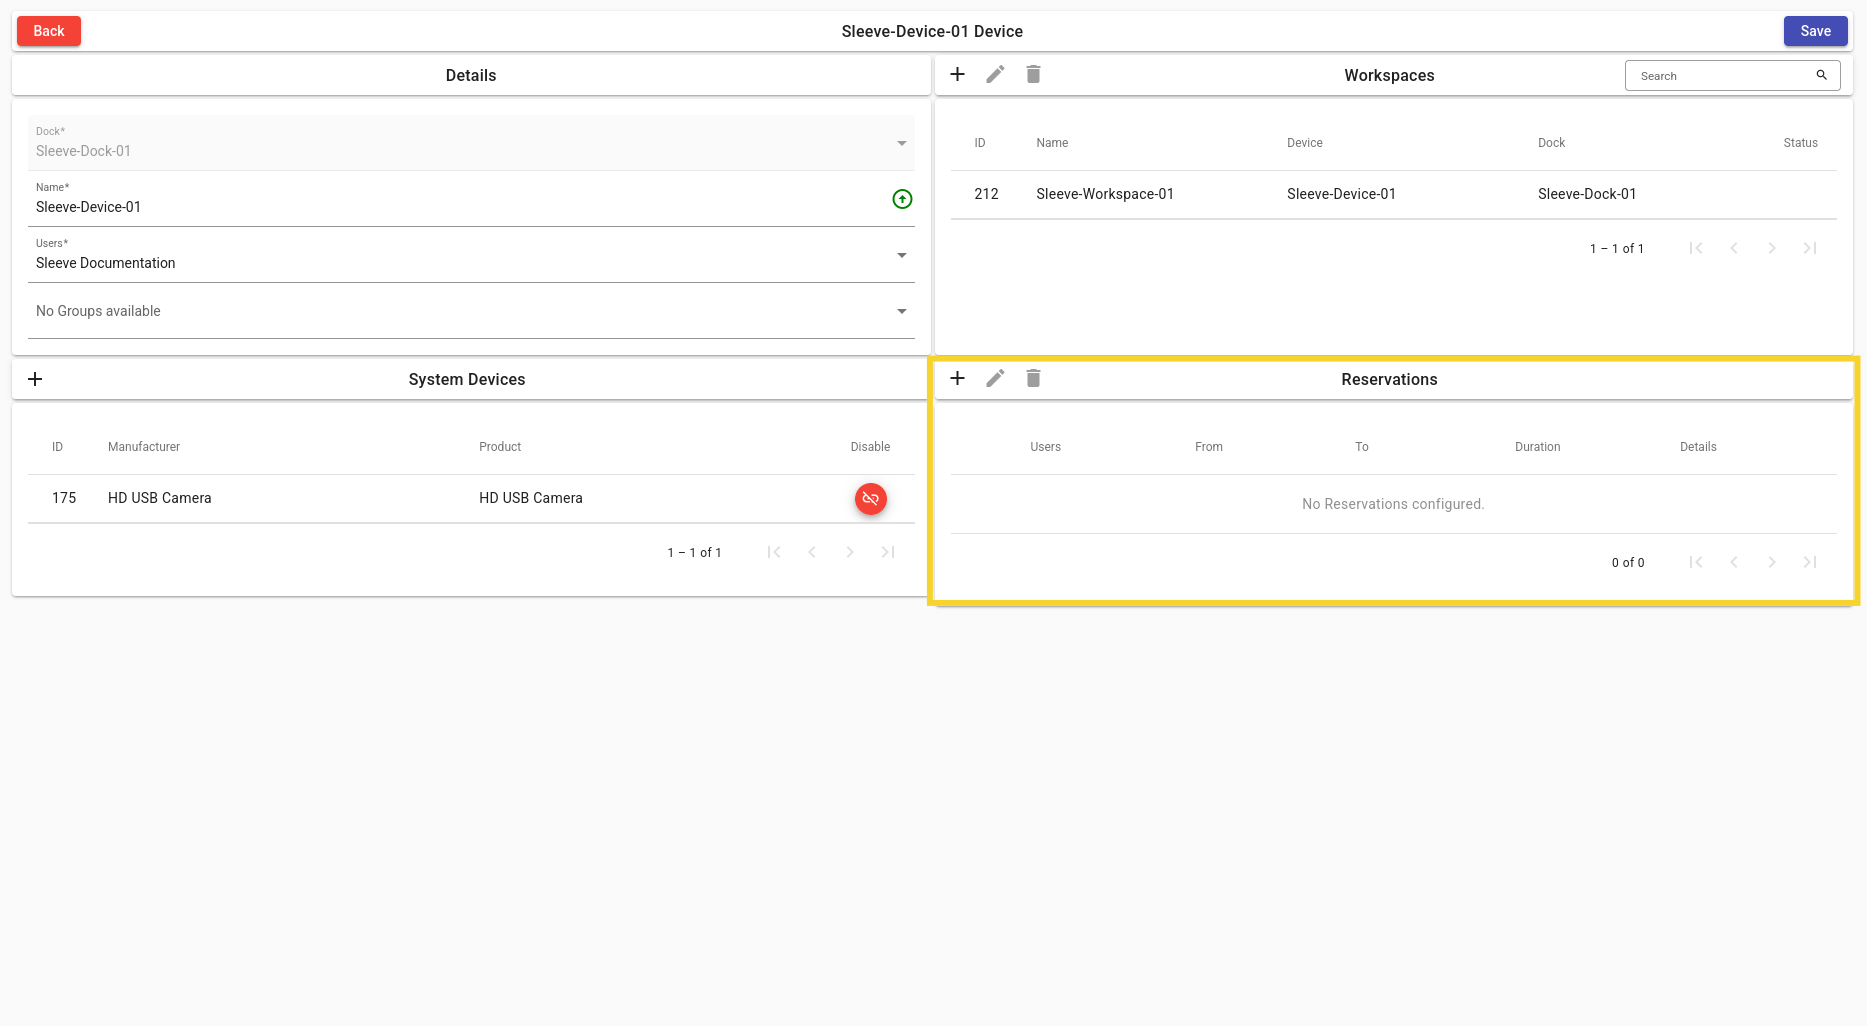
Note
- The currently active Reservation is highlighted in the list.
- Reservations are only shown in the list if they ended in the last 24 hours.
Features
When a reservation is active the following operations are exclusive for Users who are part of the reserved Users list:
- Editing or deleting the Device
- Modifying attached System Devices
- Creating, modifying or deleting any related Workspaces
- Creating, modifying or deleting any related Actions
- Starting, stopping, attaching to or destroying any related Action
Tip
These rules also apply to system Administrators to ensure that your data is safe.
Calendar
The Device Reservation Calendar provides an overview about when and by whom Devices are reserved. Keep in mind that some usernames might be hidden to ensure privacy. All Devices you have access to are shown on the calendar.
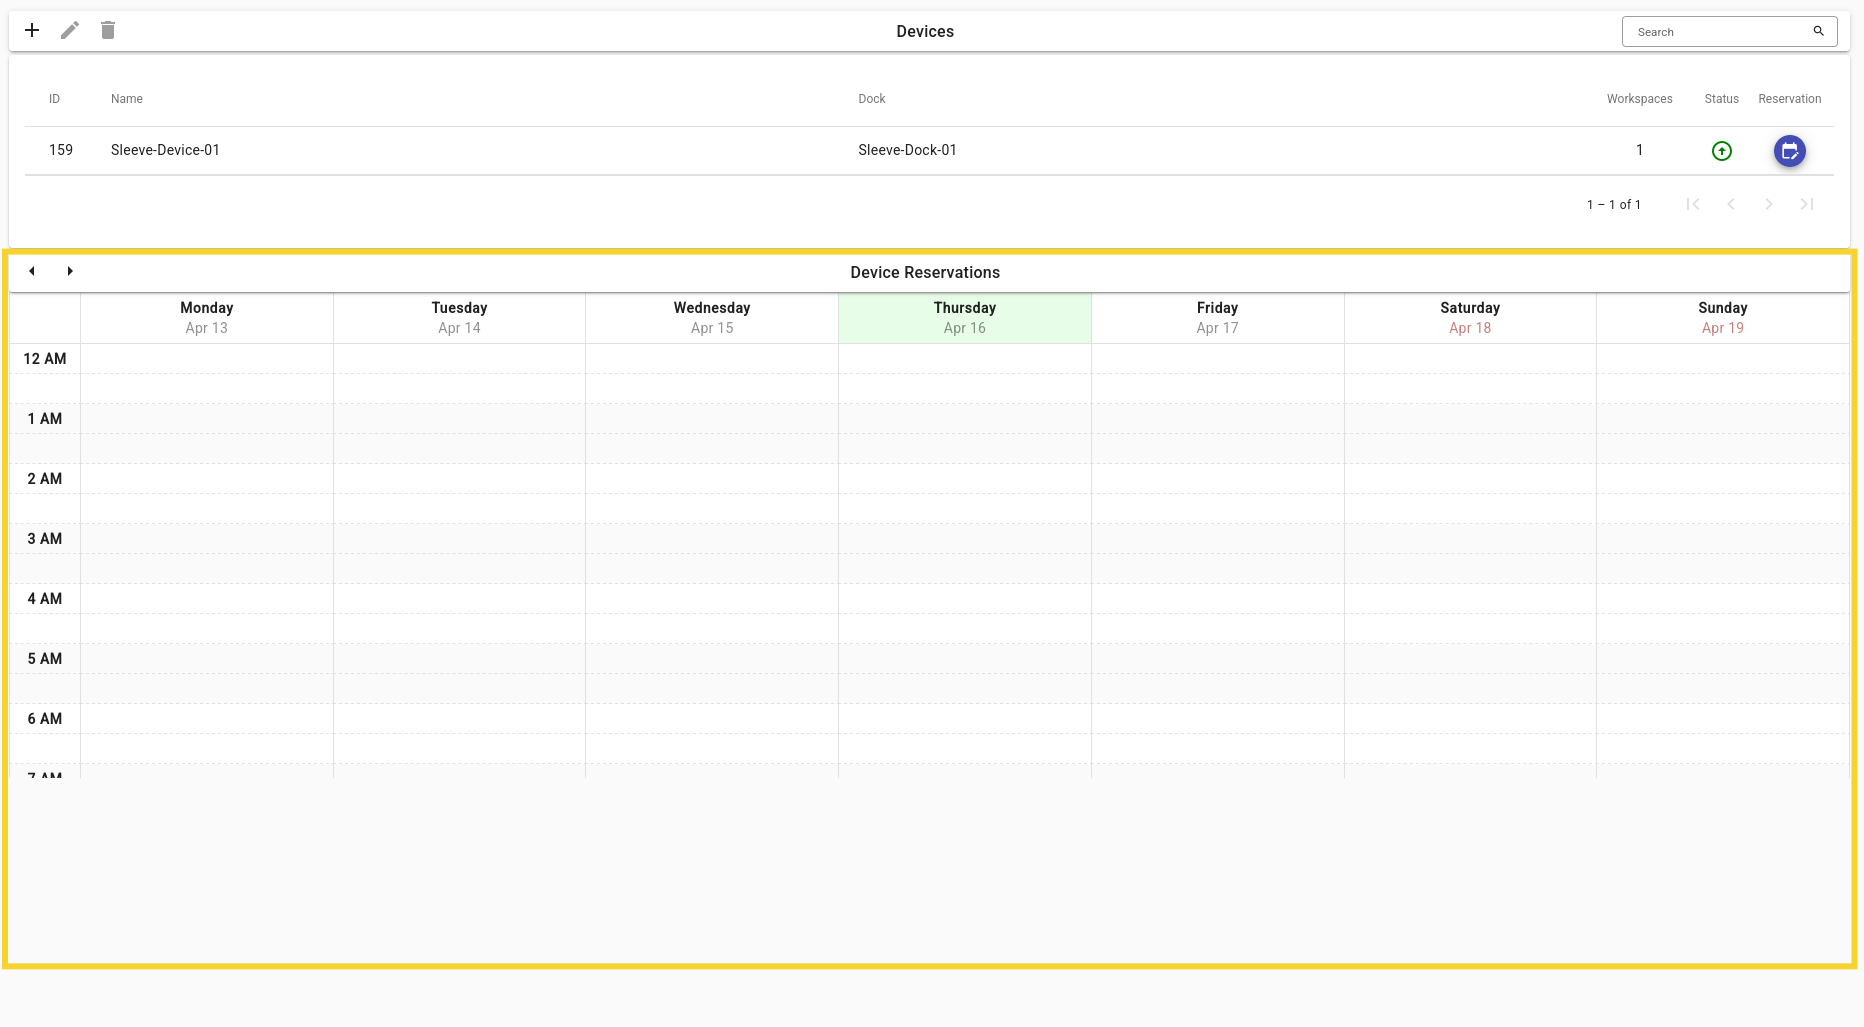
Use the and buttons to inspect any previous or following weeks.
What happens when my Reservation ends?
Sleeve wants to ensure that your data is safe, so we automatically stop all affected Actions as soon as a Reservation ends. You will receive multiple warnings before your Reservation ends so you have enough time to save your work or extend the Reservation’s duration.
The current status of any Reservations is displayed in the top right Action menu. The date and time of the Reservation is always displayed, so you always have in sight how much time is still left.

Tip
The Reservation status icon can be click to easily create a new Reservation or edit an existing one, right there on the Action terminal page.
Example